Table of Contents
Transferring and migrating your eCommerce store can play a crucial role in your business. Whether you are looking for a more engaging or user-friendly platform, the process of migrating your store to Shopify from one platform to another can be challenging.
Therefore, to make your process easy, we have covered a step-by-step guide for migrating your Shopify store. This guide includes all the important steps to help you successfully migrate to Shopify with less effort and disruption to your business.
Why Should You Migrate Your E-commerce Store to Shopify?
1. Scalability
Small and large merchants alike can use Shopify. With Shopify’s basic plan, even small and novice merchants can get started and develop as their operations grow. Shopify, especially for SMBs, is the greatest option because of the flexibility in its programs. In order to start with a plan that gives you the functionality you require while moving to Shopify, you can scale up as necessary.
2. Secure
Since shoppers divulge their personal and financial details on your Shopify store, you need a site that is secure from crashes and hacks. Shopify guarantees security for every eCommerce store that is hosted on the platform. The platform has a regular check on its security system, maintaining and upgrading its security. With unlimited bandwidth, 99.99% uptime, and an automatic SSL certificate, your Shopify store’s security is one thing you don’t have to worry about.
3. The ecosystem is robust with experts and solutions
The Shopify ecosystem is a large community, spanning countries and multi-disciplinary experts. From merchants to app developers to experts in a specific niche, you can find support and help easily. You can join Shopify communities online on social platforms like Facebook and Reddit, and find Shopify experts to hire through gig marketplaces like Fiverr and Shopify Experts in minutes. This community presence is what makes Shopify so special.
4. Customize from Scratch
Shopify easily allows you to personalize the look and design of your Shopify store. As it has a theme editor, it gives you the potential to design your store as per your convenience. It has robust functions and features like drag and drop, enabling you to easily customize your store from fonts, colors, to the placement of the sections and categories.
This takes minimal time with immediate personalization, which is vital when you are promoting or launching any new product. Also, it is helpful when you are offering a discount on your products.
Unlike traditional platforms that have huge processes for developing features, allowing custom features on Shopify is easier. It also has a hub of Shopify apps that you can pick depending on your requirements and use in your store quickly.
5. Manage your products easily
Managing products in your store is the central part of your e-commerce business. If your store doesn’t look compelling, it may increase the bounce rate, resulting in a failing conversion rate. Therefore, product management with Shopify is more seamless. Even if you are a newbie who doesn’t have much knowledge about e-commerce platforms, you can easily upload new products, edit your product pages, and manage stock under one roof.
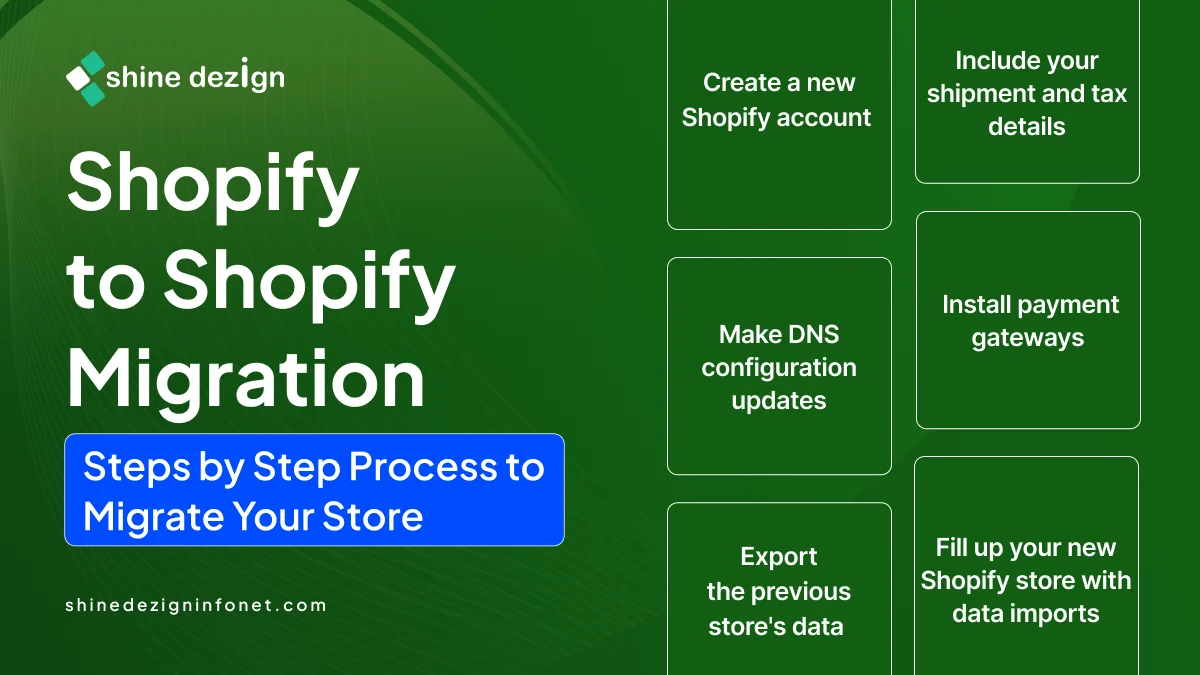
Shopify to Shopify Migration: Steps by Step Process to Migrate Your Store
Step 1: Create a new Shopify account
The first step to migrate a Shopify store to another Shopify store is to create a new store. You can start your store by simply accessing the Shopify website and clicking on the Start free trial option. After the trial duration, you can select the plan that you need to continue with at no cost.
Step 2: Export the previous store’s data
Once you have set up your Shopify store, the next step is to export the data from the old website. Your client details, products, orders, and any other information you need to be transferred to the new business are all incorporated in the data.
Export Products
We will begin by exporting the merchandise from your previous store here. Take the actions listed below. Navigate to your previous website’s Shopify admin. To view the page with all of the products, click Products. You’ll arrive at the Products tab. Click the “Export” button in the upper right corner.
A dialog box will then open as a result. To download the product details to your local system, click Export products. As we are moving from one Shopify store to another entirely, choose all products and export them as CSV files.
Export Client Details
Click Customers in the Shopify admin panel to export customers. This page displays all of your clients’ details. The Export option will be on the right-hand side. Press the button.
Step 3: Fill up your new Shopify store with data imports.
Go to the Shopify admin after logging into your new store to do this. Navigate to Products via the admin console. The Import option will be visible on the Products page. Press the button.
A dialog box will open. Click Add file to add the product CSV file you downloaded from your old store. Once the file is added, click Upload and preview. You will be shown a preview of the first product to confirm that everything is as expected. Click “Import products” to start the process.
Step 4: Install payment gateways
The next important task for your newly created Shopify store is to enable your consumers to make secure online payments for your products by including a payment gateway.
Here are the procedures to install a payment gateway in your store:
Go to Settings in the Shopify admin panel. When this opens, the window’s left side will have different site settings. Select Payments.
Depending on the chosen payment method, you can add more payment options. Alternatively, you can include options based on the listed providers, which include Ethereum, Shop Pay, Pay Easy, Affirm, and more. When you select your preferred option, the app page for the associated payment method or provider will open. Choose the provided option.
Step 5: Make DNS configuration updates
You must adjust your new store’s DNS settings in this step. To achieve this, change a record on your domain to point to your just-created Shopify store. You may also move the domain to your newly created Shopify store.
Step 6: Include your shipment and tax details
It is necessary to add your shipping and tax details after your domain has been successfully added. The following problems could arise for your clients if these two are not updated:
“There are currently no delivery options available at your location,” reads the error notice. There is a good probability that your taxes will be miscalculated if your country-specific operations change. Thus, be sure to establish a new shipping zone that has the appropriate shipping characteristics, such as tariffs.
Conclusion
The greatest eCommerce platform is Shopify, especially for expanding companies with various requirements. If you currently use another platform, moving your store to Shopify could be a difficult and time-consuming process for you. You can get support migrating to Shopify from our team of Shopify professionals. We will collaborate with you to get you up and running on the platform, from transferring the data from your website to assisting you in selecting the best selection of Shopify apps to increase sales. ensuring a seamless transfer procedure.


